
I love the look and feel of candle light. It’s romantic and makes everyone look dreamy and ageless, which is great because I’ve noticed much more gray hair and wrinkles this year. But during winter in Seattle candlelight is a necessity because apparently houses here are made from straw, and when the wind blows, the power goes out. We use candles as our backup light source.

Recently, reports are emerging that the artificial scents and the paraffin/petroleum products used to make candles may be harmful. While no major studies have confirmed these findings, I found the ingredient list to make a candle was overwhelming. Not to mention those fancy scented candles are expensive. It’s cheaper and fairly easy to make your own candles. Come on, let’s give it a try.
How to Make Beeswax Candles
I found the following recipe yielded the best candle. This combination allows the candle to burn slowly and evenly, which is a delicate balancing act when working with beeswax. Too much beeswax and the candle will be too tough, which means only a small portion around the wick burns. Not enough beeswax, and the candle will be too soft, which results in the candle burning too quickly. Kinda like Goldilocks, but with beeswax instead of porridge and there weren’t any bears involved making the candles. I don’t recommend adding bears to any part of candle making. It doesn’t seem safe.
Ingredients
•1/2-2/3 lb pure beeswax  (If you use this beeswax, use 1/2 lb. If you use beeswax from a local source, I suggest using 2/3 lb. since my experience showed locally sourced beeswax was softer)
•1/2 cup coconut oil
•3- 4 oz-pint canning jars or set of votives I purchased here
•Cotton braided wicks
•Glass jar or metal tin
•Pot large enough to fit your jar or tin
•Pencils, chopsticks or anything similar in size and shape
Directions
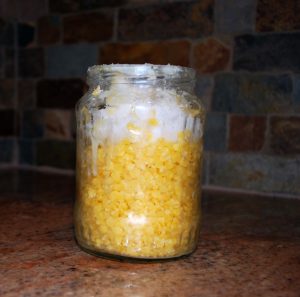
- Add beeswax and coconut oil to glass or metal tin. I use old spaghetti, jelly or pickle jars since I have them on hand. Doesn’t this mix look delicious?
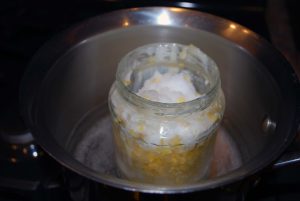
- Fill pot with 3-4 inches of water and turn on low heat. Be careful not to let the water boil.
- Place jar into warm water and stir occasionally. Sorry this shot is cropped so tight, but my kitchen was a mess, and I couldn’t let ya’ll see it. I’m not ready for that kind of commitment with my readers yet.
- While waiting for mixture to combine, I suggest placing a piece of paper or foil to catch spills under the votives. I used parchment paper because aluminum foil doesn’t photograph as well. But you’ll see by my picture below I really needed a larger piece of parchment paper. I always underestimate the size of the mess I’ll make.
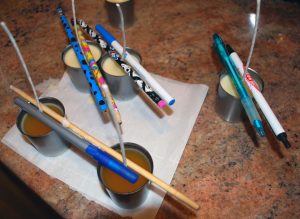
- Once the wax and oil are combined, pour the liquid into the votives. Quickly place a wick into the bottom center of the votive and hold it until the wax hardens. Or if you’re uh, resourceful, like me take a bunch of pencils or chopsticks or whatever you have on hand and balance them so the wick is supported.
I read one recipe that suggested wrapping the long wicks around bamboo skewers to secure them. Haha, yeah, right. I have 16734 pencils at my disposal, as I’m sure you do, too. Pencils totally work.
- Be careful not to touch the pencils before the wax hardens. It can make the wick fall and destroy the candle.
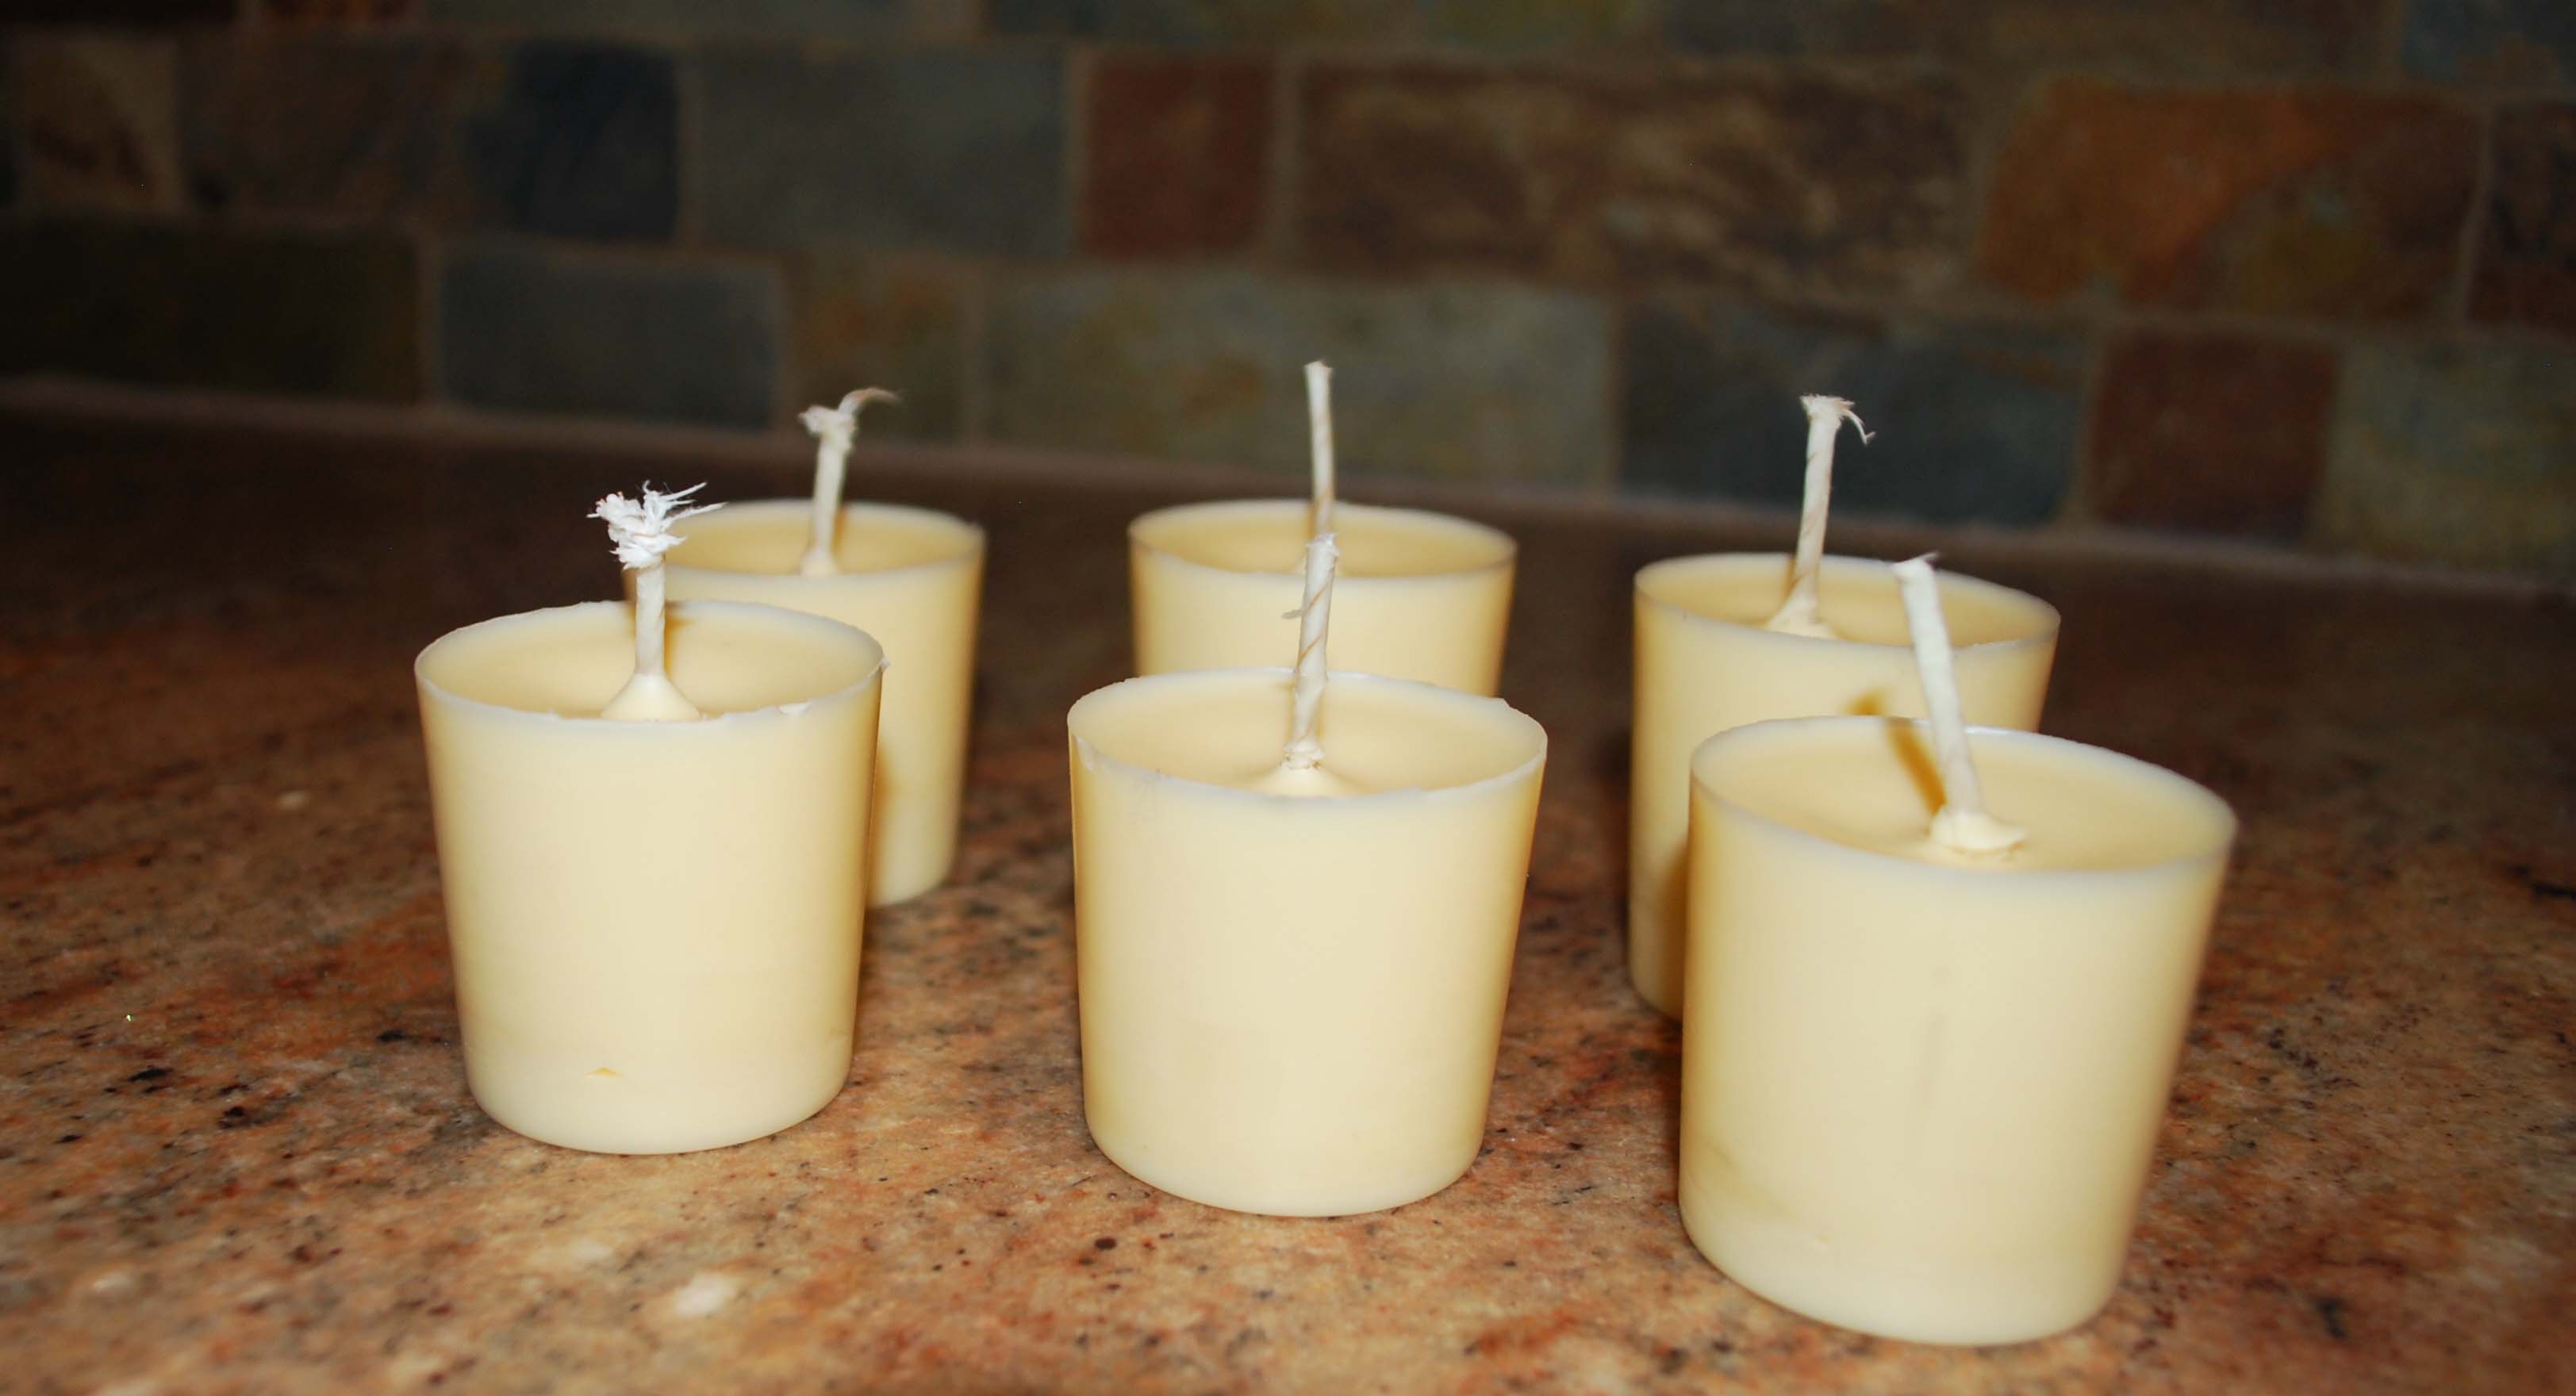
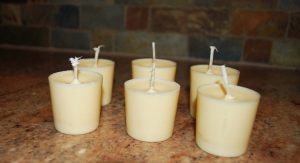
- If using votives, let wax harden 12 hours to overnight. Pop them out in the morning and trim wicks to no shorter than 2 inches.
- Have a beer or glass of wine because you’re a badass and just made your own candles. You deserve to celebrate. Or maybe you should’ve had a glass or two before you read this post so my photos wouldn’t look so amateur.
If you try it out, let me know how it goes. Or come over and we’ll make candles together. Just bring wine. And snacks. I like snacks.